Switching to HDMI on your PC in Windows 11 is easy. First, locate the HDMI port on your computer. Then, connect one end of the HDMI cable to your PC and the other end to your display device. Finally, use the input/source button on your display device to select the HDMI input and voila.
The Switching to HDMI on Windows 11 is a breeze. With just a few simple steps, you can unlock crystal-clear visuals. Say goodbye to tangled cords and hello to high-definition brilliance. Let’s dive in and make your screen shine. Switching to HDMI on your PC in Windows 11 is a snap. Just find the HDMI port on your computer. Then, plug one end of the HDMI cable into your PC and the other end into your display device. Finally, select the HDMI input on your display device, and you’re good to go.
Getting Started: Locating Your Hdmi Port

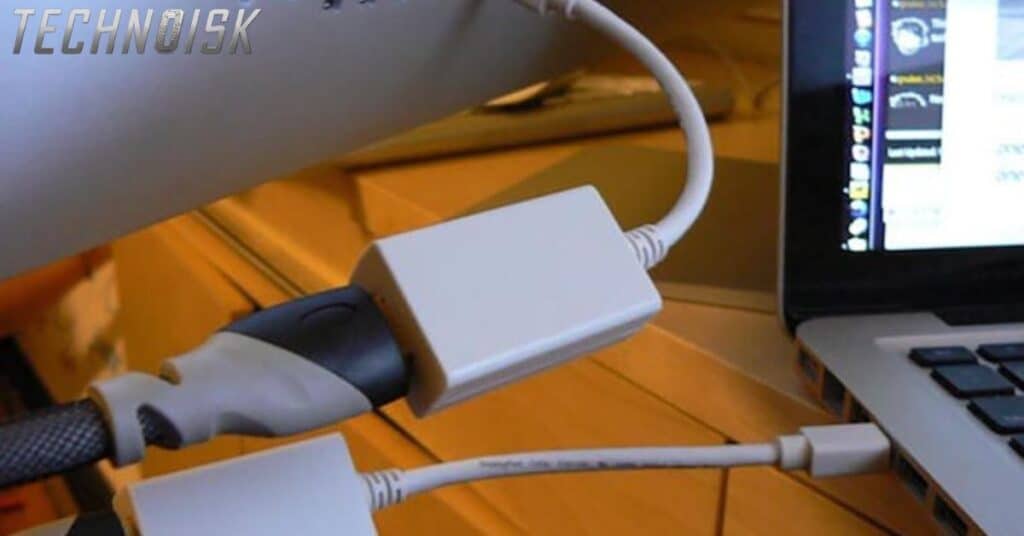
Getting started with connecting your PC to HDMI begins with finding the HDMI port. It’s usually located on the back or side of your computer tower or laptop. Look for a small, rectangular-shaped port labeled “HDMI.” If you’re using a laptop, the HDMI port might be on the side or back edge.
Once you’ve located the HDMI port, you’re one step closer to enjoying high-definition visuals. Take a moment to ensure you have an HDMI cable ready. These cables have a similar rectangular shape and plug into the HDMI port securely. With the port identified and the cable in hand, you’re ready to move on to the next step of the process.
Connecting Your PC to HDMI: Step-by-Step Guide
Connecting your PC to HDMI is a straightforward process that enhances your display experience. Begin by taking one end of your HDMI cable and inserting it into the HDMI port on your computer. Ensure a snug fit to avoid any connection issues.
Next, take the other end of the HDMI cable and plug it into the HDMI input on your display device, such as a monitor or TV. Again, ensure a secure connection to guarantee proper functionality. Once both ends are securely connected, you’re all set to enjoy your PC’s content on the larger screen in high definition. It’s a simple and effective way to elevate your viewing experience.
Setting Up HDMI Output on Windows 11
Setting up HDMI output on Windows 11 is a breeze and allows you to enjoy your PC’s content on a larger screen. Begin by right-clicking on the desktop and selecting “Display settings” from the menu that appears. This will open the Display settings window where you can customize your display preferences.
In the Display settings window, scroll down until you find the “Multiple displays” section. Here, you’ll see a drop-down menu labeled “Multiple displays.” Click on this menu and select “Extend these displays” to enable HDMI output. This option allows you to use your PC’s screen alongside the external display connected via HDMI.
Once you’ve selected “Extend these displays,” click on the “Apply” button to confirm your changes. Your PC will now extend its display to the external screen connected via HDMI, giving you more screen real estate to work with. It’s a simple yet effective way to enhance your productivity or entertainment experience on Windows 11.
Read Also This: How To Humanize Ai Content?
Switching Display Input to HDMI: Simple Instructions
Switching the display input to HDMI on your monitor or TV is a quick process. Begin by locating the input/source button on your display device. This button is often found on the remote control or on the monitor itself.
Once you’ve located the input/source button, press it to cycle through the available input options. Keep pressing until you reach the HDMI input option. This will switch the display input to the HDMI port that your PC is connected to.
After selecting the HDMI input, you should see your PC’s display appear on the screen. If not, double-check the HDMI connection on both your PC and display device to ensure it’s secure. With the input switched to HDMI, you’re all set to enjoy your PC’s content on the big screen hassle-free.
Enjoying High-Definition: Optimizing Your PC Display
Enjoying high-definition visuals on your PC is a delight that can be enhanced with a few optimization steps. Start by adjusting the resolution settings on your computer to match the capabilities of your display device. This ensures that you’re getting the best possible image quality.
Explore the display settings on Windows 11 to fine-tune brightness, contrast, and color settings. Experiment with these options until you achieve a visually pleasing balance. Consider enabling features like cleartype text for sharper text rendering, enhancing readability.
Another tip for optimizing your PC display for high-definition enjoyment is to update your graphics drivers regularly. This ensures compatibility with the latest software and maximizes performance. With these simple adjustments, you can make the most of your high-definition display experience on Windows 11.
Read Also This: How To Connect Turtle Beach Stealth 600 To Pc?
Troubleshooting HDMI Connection on Windows 11
Encountering issues with your HDMI connection on Windows 11? Don’t worry, troubleshooting is simple. First, check that both ends of the HDMI cable are securely plugged in. Loose connections can cause signal problems.
If the connections are secure but you’re still experiencing issues, try using a different HDMI cable or port. Sometimes cables or ports can be faulty. Additionally, ensure that your display device is set to the correct input source for HDMI.
If troubleshooting steps don’t resolve the issue, it might be a driver problem. Check for updates to your graphics drivers in the Device Manager. Updating drivers can often resolve compatibility issues and improve performance. If problems persist, consider seeking assistance from tech support for further troubleshooting steps.
Additional Tips and Tricks for HDMI Usage on PC

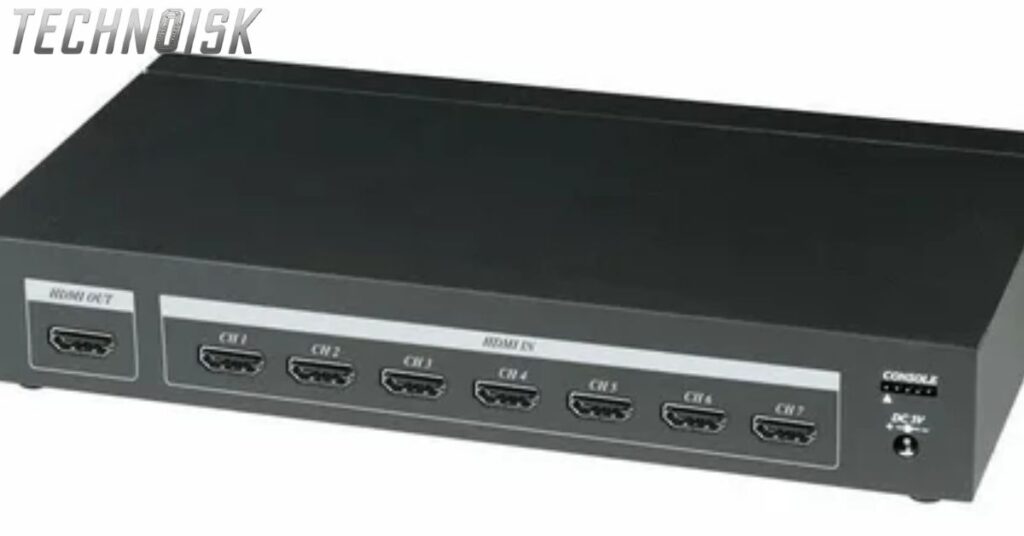
Unlock the full potential of HDMI usage on your PC with these additional tips and tricks. To prevent cable clutter, consider using HDMI switchers or splitters to connect multiple devices to a single display. This allows seamless switching between sources without the hassle of unplugging and re-plugging cables.
Optimal audio experience, make sure to select the correct audio output device in your PC’s sound settings. This ensures that audio is routed through the HDMI connection to your display device or external speakers. Explore your display device’s settings for advanced features like picture modes and color calibration tools to further enhance your viewing experience.
Don’t forget to regularly check for software updates for both your PC and display device. Updates often include bug fixes and performance enhancements that can improve HDMI functionality. By staying up-to-date and implementing these tips, you’ll make the most out of HDMI usage on your PC, ensuring a seamless and enjoyable viewing experience.
Conclusion
Switching to HDMI on your PC in Windows 11 is a straightforward process that can greatly enhance your display experience. By following simple steps to locate the HDMI port, connect your devices, and configure settings, you can enjoy high-definition visuals with ease.
With the versatility of HDMI, you can effortlessly extend your PC’s display to larger screens, whether it’s a monitor, TV, or projector. Whether you’re working on projects, streaming your favorite content, or gaming, HDMI offers a seamless connection that unlocks a world of possibilities for your PC. So, why wait? Dive in and elevate your viewing experience today.
Frequently Asked Questions
How do I find the HDMI port on my PC?
Look for a small, rectangular-shaped port labeled “HDMI” on your computer tower or laptop.
Do I need a special HDMI cable to connect my PC to a display?
No, any standard HDMI cable will work for connecting your PC to a display device.
Can I use HDMI to connect my PC to a TV?
Yes, HDMI allows you to easily connect your PC to a TV for larger screen viewing.
What if my PC doesn’t automatically switch to HDMI when connected?
You may need to manually select the HDMI input on your display device using the input/source button.
How do I adjust display settings after connecting via HDMI?
Right-click on the desktop, select “Display settings,” and customize your preferences in the settings window.

Meet Jonlia, a tech enthusiast with 5 years of industry experience, adding expertise and innovation to our website as its distinguished author.